
I tried to do a push pin map a couple times before, but both attempts were a fail. The first time I used a cork board, the second time, I used a canvas (oh and 1 attempt just using a vinyl sticky map to the wall, but I kept hitting studs). My friend recently shared her push pin map and she gave me the genius idea to use a FOAM board!!!! I wanted to share with you how I did mine and also how she did hers (which is an even more budget friendly way). It’s definitely a statement piece and makes for an excellent gift.
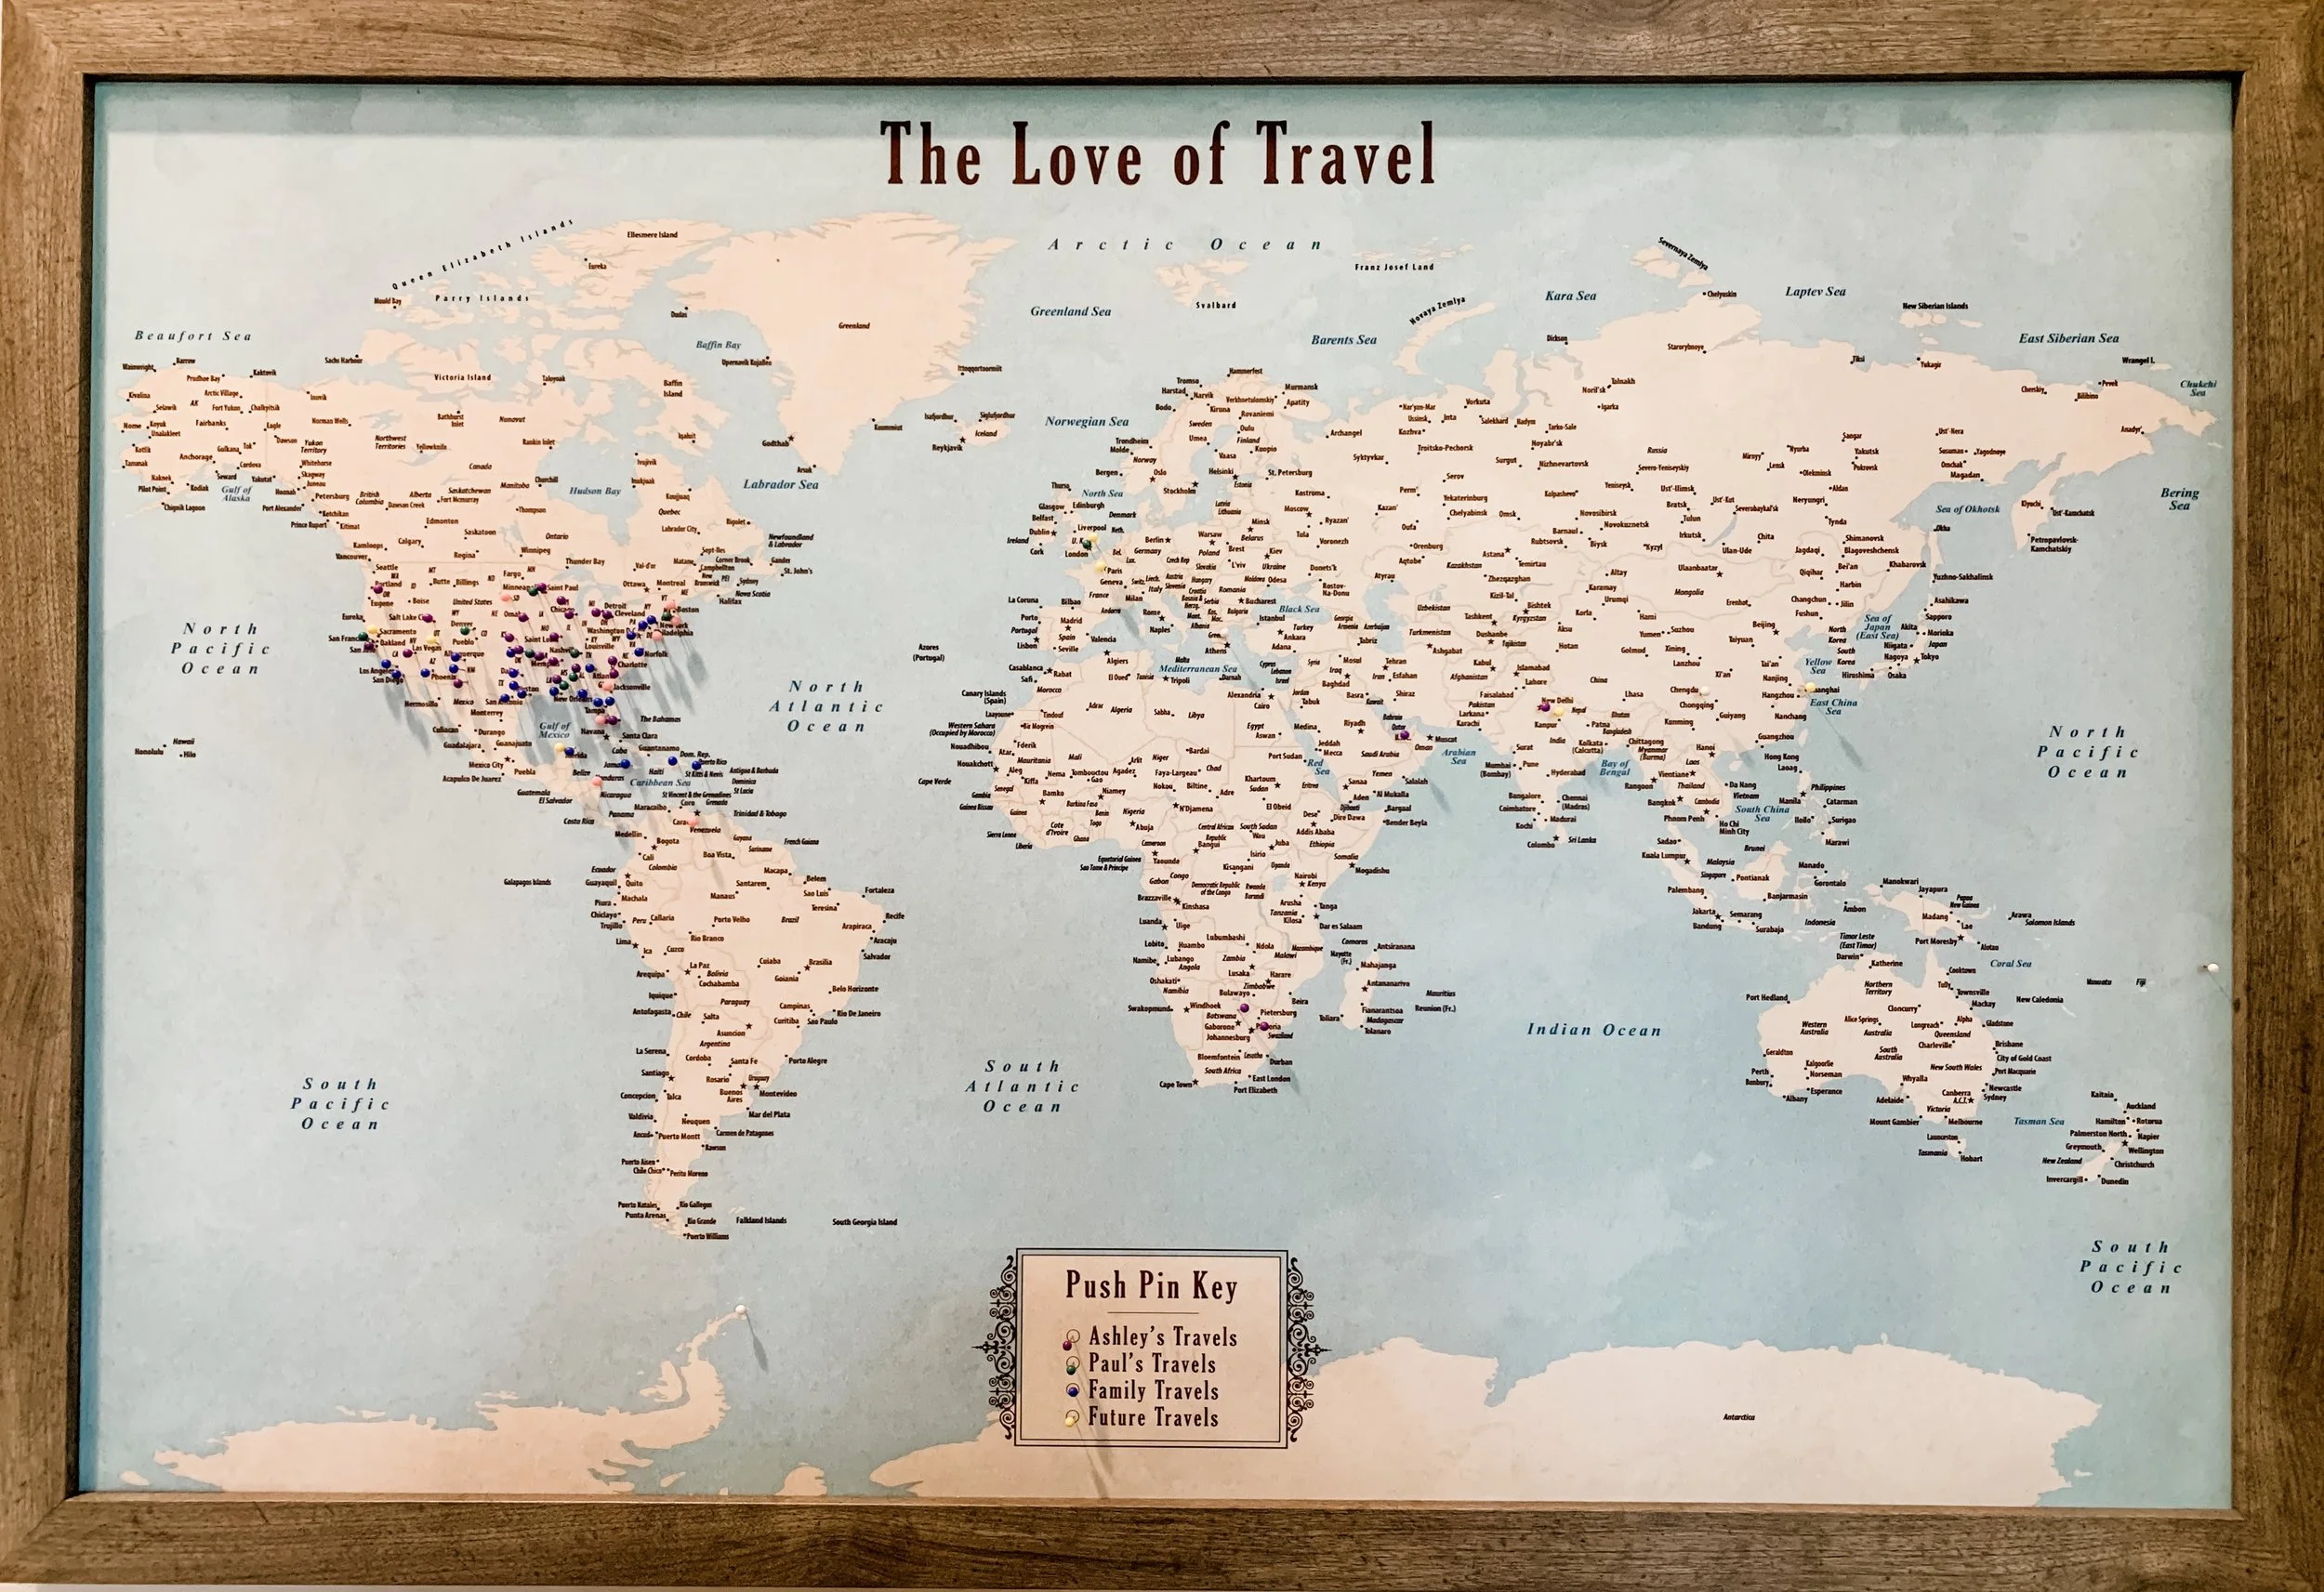
First I want to explain what a push pin map is, in case you have never heard of or seen one. It is a map that has a key (the key can vary), that essentially displays where you have traveled/lived. My key shows where I have traveled, where Paul has traveled, where the family has traveled, and where we plan to go. I added a few extra pin colors (not on the key) of dreams places (white) and my mom wanted to add her places she has traveled to (pink).
Let’s get to it!
What to get:
Frame based on size - I chose 24 x 36 frame purchased from Michaels. The frame happened to be 70% off, so only $17 (originally $50). They always have coupons, so may sure you check their site before you go.
Map -
I purchased a digital file from Etsy. There are a ton of great ones on Etsy, so just search. The seller I used has multiple options. Cheaper non-custom printed idea is here from Amazon.
Push Pins - Purchased mine for $6 on amazon, these are cute too if you want a more uniformed look.
Foam board - I cheated and had the copy company print my board mounted on a foam board. This is more costly, so if you want to save money, see Quiana’s post.
A cute helper (Optional - my son insisted on helping)
How to do it in 5 steps:
1 . Purchase the map (digital files are less expensive)

2. Print the map - As mentioned above, I had my map printed at a copy center (FEDEX - make sure you search for coupons) and mounted on a foam board


3. Frame the board - I ended up having to trim my board. I used a kitchen knife. My exacto knife was a bit dull and so were my scissors. Had I mounted it myself, I could have just trimmed the map then glued it to the board.


4. Start pinning! Its best to have a color pin for each key category.


5. Hang that beautiful board. Don’t forget to keep updating it as you travel.

After completing this, I realize, there are so many places that I must go, like most of the eastern hemisphere.
Head over to check out my friend’s pin map, here!

If you have any questions or try this, please share it with me!!!! As always, thanks for reading. XX